How to Curve Text in Photoshop
How to Curve Text in Photoshop
Text and images are two essential parts of image graphics. By styling both, we can make an image look prettier and meaningful. To style a text, we can color, resize, rotate, and curve it using Photoshop.
Curved text is very popular for logo designing. Usually, a logo contains an image related to the product and brand text curved around the image.
There are many ways to curve a text in Photoshop. One of the easiest and popular ways is the text warp tool. But, here, we will see different methods to curve a text. We will create curved text, circular text, and warp text.
Method1: Using Text Warp Tool
The text warp tool is one of the easiest ways to create curved text. When we activate the text tool, it can be found in the text tool options menu bar at the top of the image canvas. Follow the below steps to curve text using Photoshop:
Step1: Open or create a new image
To open an image, stroke the Ctrl+O key combination, and to create a new image, stroke the Ctrl+N key combination.
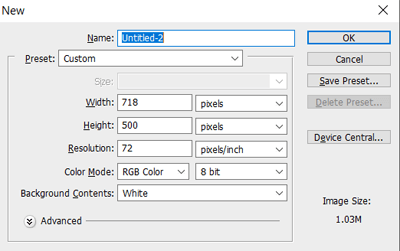
While creating a new image, we can specify its dimension and background. Click OK to continue.
Step2: Select Text Tool
Now select the text tool from the toolbox given at the left of the workspace, or we can hit the T key to activate it.
Once the text tool is selected, the text warp tool will be displayed at the top menu bar.

First, add the text to curve it.
Step3: Add Text
Now, add text to the created image at the desired location. Usually, it is added in the center. We can select the font size and font weight from the top menu bar.
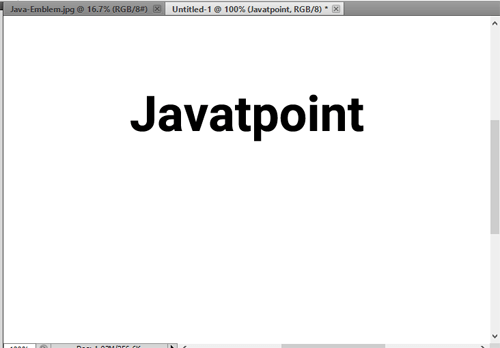
Now, we can curve this text using the text warp tool.
Step4: Make Curved Text
Now, select the text and click on the text warp tool from the top menu bar. It will open a new window having multiple warp styles.
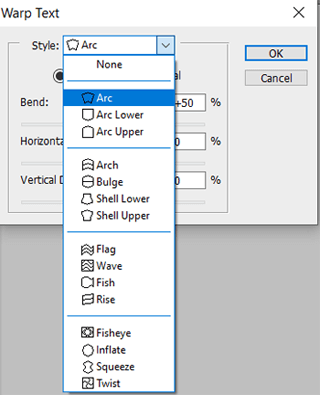
We can select any of the styles from the given drop-down menu. For example, we are selecting the Arc style. It will curve the text as follows:
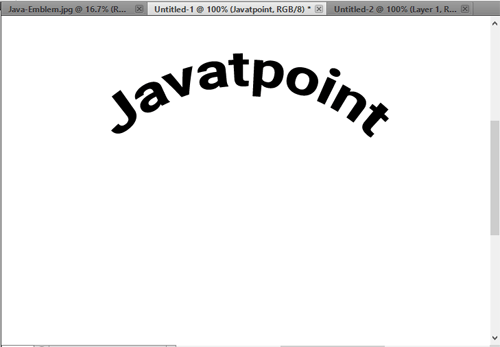
Here, we can see that the text is curved like an arc. Similarly, we can choose any different style. Below are some curved styles:
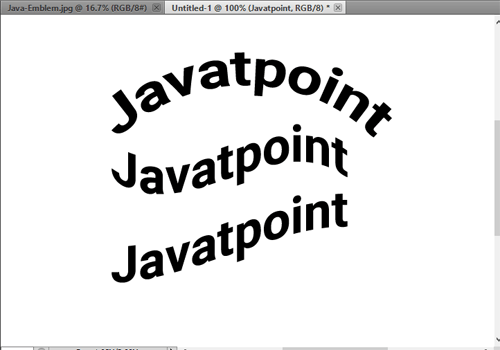
We can also set the bend, vertical, & horizontal values from the text warp tool.
Method2: Using the Ellipse Tool
We can also make the curve using the ellipse tool. Follow the below steps to curve a text using the ellipse tool:
Step1: Create a New Document
To create a new document, press the Ctrl+N keys and set the dimensions and background. Click OK to continue.
Step2: Select the Ellipse Tool
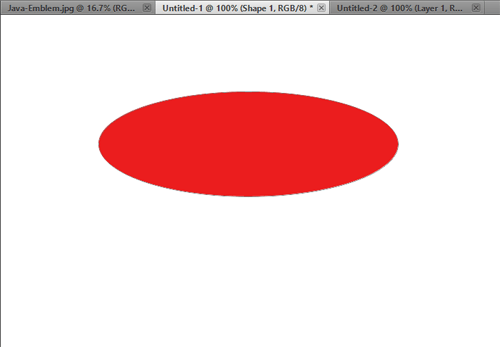
Now, activate the ellipse tool and draw an ellipse on the image canvas. We can choose any of the sizes to keep the text size in mind. The text will be added to its edges.
Step3: Activate the Text Tool
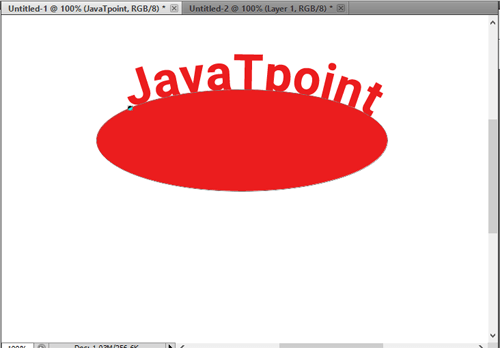
Now, activate the text tool and move the cursor to the edges of the ellipse. You will see the cursor converting into text on the path just like (small wave icon). Click on edge to write the text.
Step4: Write the Text
Once the text on the path is activated, we can start writing a text on it. It will be written on the edges of the shape in curved format.
Step5: Remove or Hide the Shape Layer
Now, remove or hide the shape layer. It will remove the shape from the image canvas, and only the text will be displayed on our image. Consider the below image:

From the above image, we can see that the text is displaying like a curve. Similarly, we can draw any shape and activate the text on the path tool by clicking on its edge to make the text in any shape format.
Method3: Using Transform Tool
We can also make the curved text using the transform tool. This is the finest way to get the desired result for the curved text. Let's understand how to curve text using the transform tool.
Follow the below steps to curve a text using the transform tool:
Step1: Create a new document
To create a new document, stroke the Ctrl+N keys and specify the dimensions and background for the image. Click OK to continue on the new document window. It will create a new document for the specified dimensions.
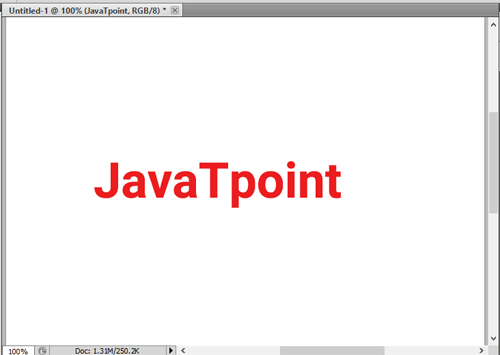
Step2: Add text
Now, add the text to be curved by activating the text tool. Press the T key or activate the text tool from the toolbox given at the left of the image canvas.
Step2: Convert the text layer in smart object
To convert the text layer into a smart object, right-click on the text layer and select the Convert to smart object option.
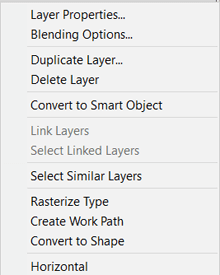
It will make the text layer a smart object. Now, the transform operation can be applied to the text.
Step3: Select the transform option
Now, navigate to Edit->Transform->Warp menu to activate the warp transformation.
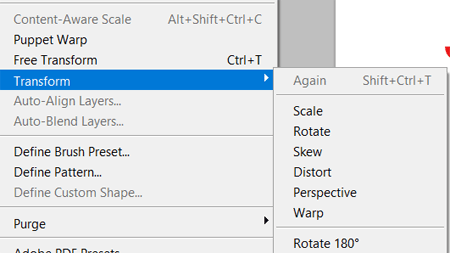
Once the warp transformation tool is activated, it will display the anchor points along with the text in different locations. Consider the below image:
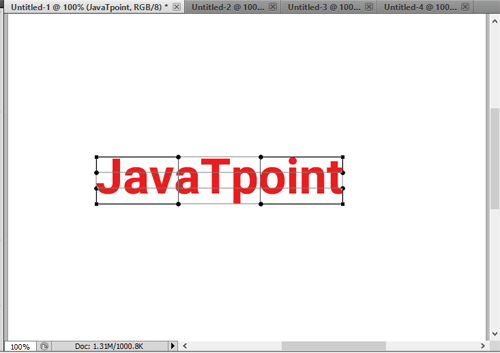
We can warp the text by stretching these anchor points in any direction as per our requirement.
Step4: Warp the text
Now, warp the text by stretching the anchor points in different directions as per our requirement. For example, consider the below image:
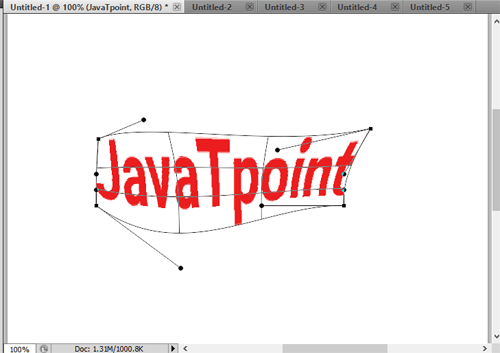
We have stretched the anchor of each anchor point in different directions as per our requirement so that the text is also stretched in the respective directions. Hit the Enter key once you get the final result.
Here, our text will look as follows:

Conclusion:
Photoshop has massive support for the tools. These tools can be combined as per requirement. There are different ways to perform a task in Photoshop. We can choose any of the methods as per our ease and requirement to perform a task.
We have discussed three methods of making curved text in Photoshop. All the above methods are effective and useful. So you can choose any of the discussed methods as per your convenience and requirement.

.jpg)

.jpg)
Comments