CorelDRAW: Working with brushstrokes, outline, and line
CorelDRAW: Working with brushstrokes, outline, and line
CorelDRAW enables us to add brushstrokes and lines with the help of a wide range of tools and technologies. After we create lines or use brushstrokes on the lines, we may format them.
This chapter includes the following mentioned topics:
- Creating lines
- Drawing preset lines, pressure-sensitive, and calligraphic
- Formatting Outlines and lines
- Inserting arrowheads to curves and lines
- Removing, converting, and copying outlines
Creating lines
The lines are the path among two points. A line can combine of several segments the segment of a line can be straight and curved.
- Polyline and Freehand Tools
When we were sketching over any sketchpad, the polyline and freehand tools let us create the freehand lines. We can immediately erase an unwanted part and continue creating. To create segments or straight lines, we can constraint them for horizontal and vertical straight lines.
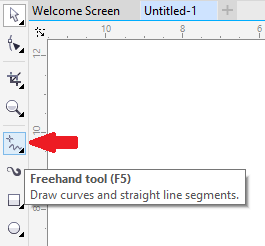
To draw any line with Freehand tool
- Within the toolbox, press the Freehand
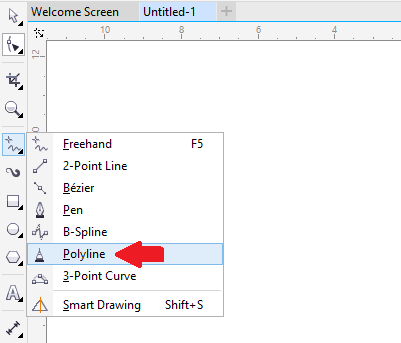
To draw any line with Polyline tool
- Within the toolbox, press the Polyline
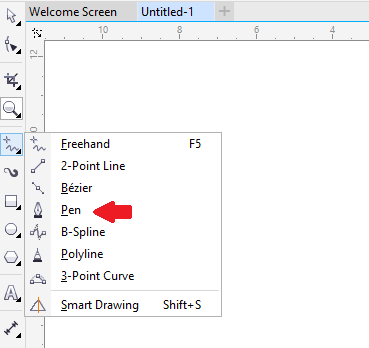
- Pen and Bezier Tools
The pen and Bezier tool lets us create the lines single segment at one time thru positioning every node along with controlling and precision every curved segment's shape. We can preview a line segment we are creating if using any pen tool.
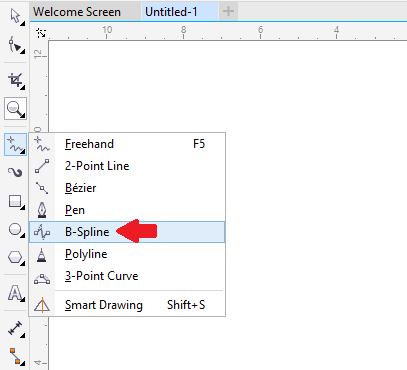
- B-spline Tool
With control points, we can shape the curved lines easily and create the B-splines. The control points do not let us to describe the points from which the curve passes if we wish to align the curve along with some other drawing components.
Drawing preset lines, pressure-sensitive, and calligraphic
CorelDRAW enables us to simulate the calligraphic pen effect when we draw the lines. The calligraphic lines may change in thickness based on the line's direction and pen nib's angle. By default, the calligraphic lines represent the closed shapes along with the pencil.
CorelDRAW enables us to create pressure-sensitive lines, and these lines may change in thickness. We can make this effect with the help of the graphics tablet, pressure-sensitive pen, and mouse. The outcome of both the techniques is the lines along with the curved lines, and changed widths with the path.
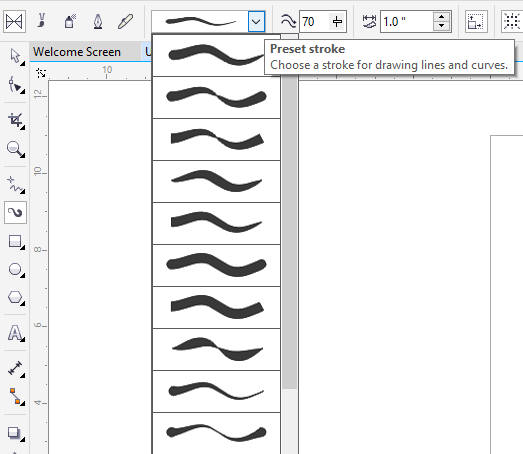
The preset lines let us design the thick strokes within a wide range of shapes.
To draw the calligraphic line
- Within the toolbox, press the Artistic media
- Press the Calligraphic button over the property bar.
- Type the value inside the Calligraphic angle box over the property bar.
- Move until a line is a shape we wish.
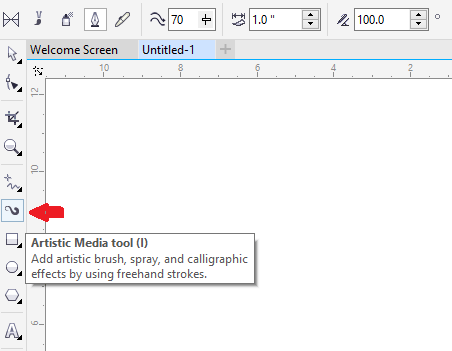
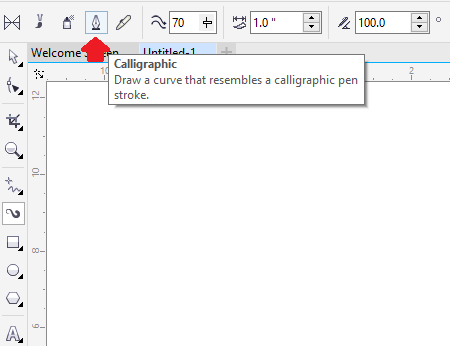
To draw the pressure-sensitive line
- Within the toolbox, press the Artistic media
- Press the Pressure button over the property bar.
When we use the mouse, click the Down arrow or Up arrow to simulate modifications in the pen pressure and modify the line's width. - Move until a line is a shape we wish.
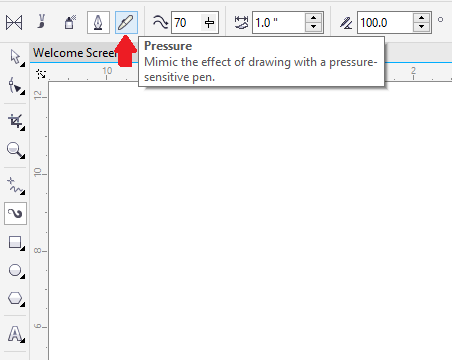
To draw the preset line
- Within the toolbox, press the Artistic media
- Press the Preset button over the property bar.
- Select the preset line through the Preset stroke list box.
- Move until a line is a shape we wish.
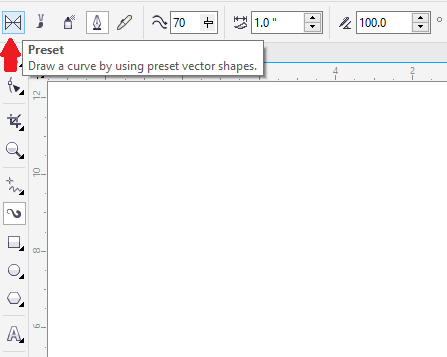
Formatting Outlines and lines
Lines can be treated as closed shape's outline, like polygons and ellipse. Outlines are called thick lines and strokes.
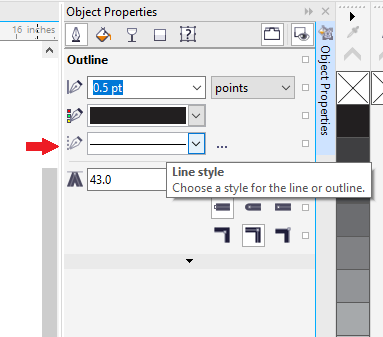
We can modify the representation of both the outlines and lines with the help of some controls inside the Object property's Outline section, a dialog box Outline pen and a property bar. Such as, we can describe the style, color, and width of an outline and line.
We can select the corner style for controlling a corner shape inside the lines and select the style of line cap to modify the representation of the endpoints of a line. Also, we can connect the thickness of a line to the size of an object so that an outline can increase the size of an object and decrease if we decrease the size of an object. In addition, we can set an outline over the underline color's top, without erasing them at the time of printing.
The defaults outline and line properties for every newly created object that we draw are listed below:
- An outline connected to the size of an object.
- An outline used on the top of the object's fill.
- No arrowheads used
- Centered outline
- Line cap and square corner styles
- Solid line
- Black color
- Hairline width
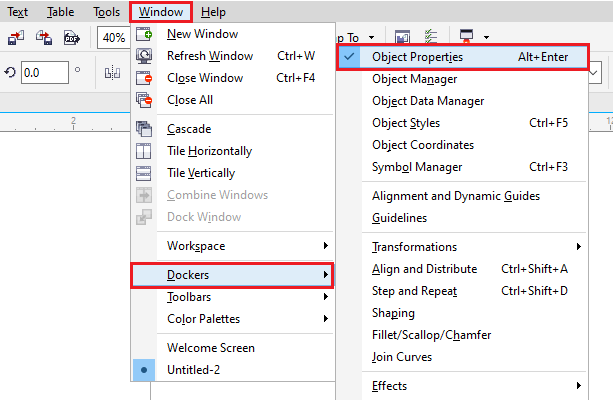
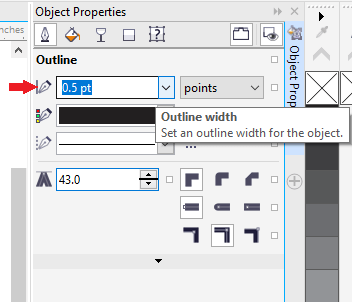
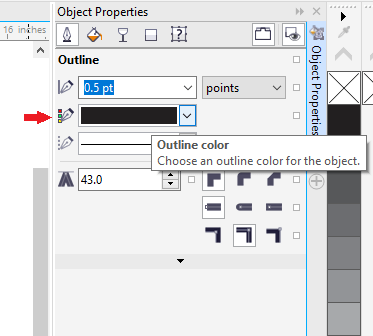
To describe outline and line settings
- Choose the object.
- Press Window > Dockers > Object properties.
- Within the Outline section, fill the value inside the width When an Outline section is not shown, press Outline.
- Open color picker, and press any color.
- Select the line style through the Style
Inserting arrowheads to curves and lines
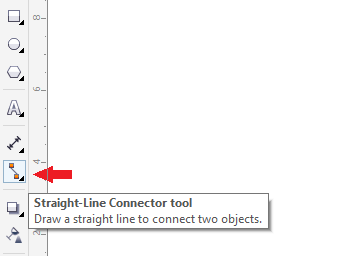
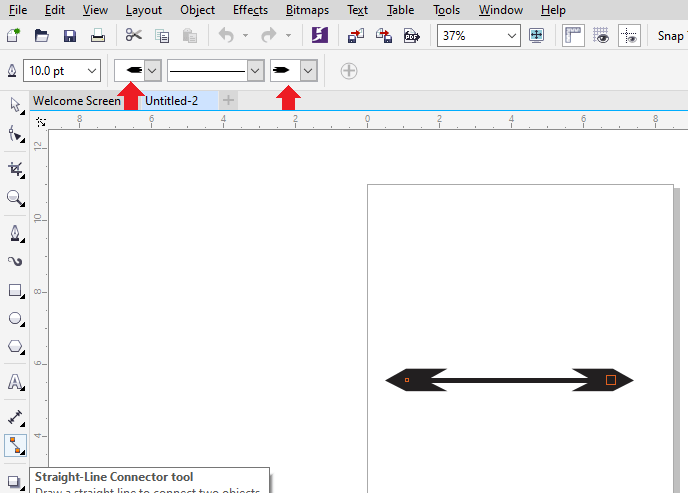
Arrowheads let us enhance the starting and endpoints of curves and lines. We can describe the arrowheads attribute's with precision. Such as, we can specify an arrowhead's exact size or rotate an arrowhead through any precision amount. Also, we can flip the arrowheads horizontally and vertically.
We can edit the arrowhead preset, and design the arrowhead preset on the basis of the existing one. Also, we can design the arrowhead preset on the basis on the object like the closed shape or curve. If we no longer require the arrowhead preset, we can also delete it.
To insert an arrowhead
- Choose a curve or line.
- Open the Start arrowhead picker over the property bar, and press the line-ending shape.
- Open the Start arrowhead picker over the property bar, and press the line-ending shape.
Removing, converting, and copying outlines
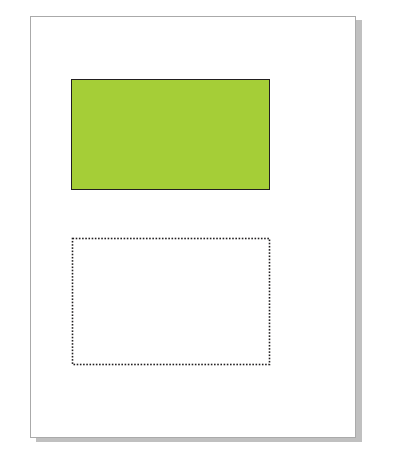
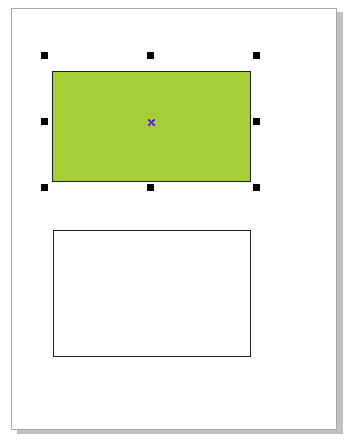
CorelDRAW enables us to copy the properties of an outline to another object.
Also, we can convert the outline to the object, and remove the outline. Converting the outline to the object makes an empty closed object along with the shape of an outline. We can use various special effects and fills in a new object.
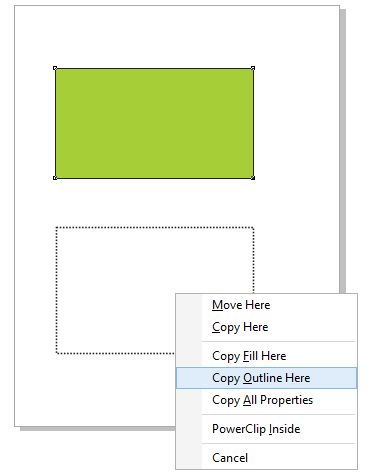
To copy the outline properties to other objects
- With the Pick tool, choose an object that contains an outline we wish to copy.
- Using the right button of mouse, move the source object on the target object, for we wish to use that outline.
- If the pointer modifies to the crosshair pointer, free the button of mouse, and select the Copy outline here option from the available context menu.


Comments