Manipulating and adding text in CorelDraw
Manipulating and adding text in CorelDraw
CorelDRAW facilitates several ways to manipulate and add text (call 'type' also). We can make two text object types: paragraph text and artistic media. Artistic media can be used to add any short line or individual word of text. The Paragraph text can be used to create text-intensive documents, like brochures or newsletters.
This chapter includes the following essential topics:
- Pasting and importing text
- Inserting artistic text
- Inserting paragraph text
- Linking and combining text frames
- Text alignment by using a baseline grid
- Choosing text
- Converting, editing, and finding text
- Adding glyphs, symbols, and special characters
Pasting and importing text
We can import the text inside an existing or new document. It allows us to authoring text within the word processor and includes it to the CorelDRAW document. The following file formats of text are supported by CorelDRAW:
- RTF (Rich Text Format) files
- WPD (WordPerfect) file
- DOCX (Microsoft Word Open XML Document) files
- DOC (Microsoft Word Document) files
- TXT (ANSI Text)
To import any text inside the document
To import any text inside the document, follow the below steps:
1) With the Text tool, place the cursor within a text frame where we wish to import text.
When we don't have any text frame inside a document, proceed from step 2 and skip the first step.
2. Press File > Import.
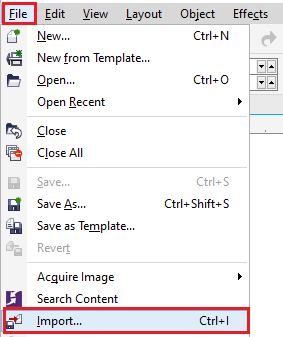
3. Select the folder and drive in which the file can be stored.
4. Press the filename.
5. Press Import.

When we wish to use CMYK black on an imported black text, click on the Force CMYK black checkbox. It is available if we select any option that can maintain the text formatting.
Inserting artistic text
The artistic text can be used to add any short line or individual word of the text, like the headlines to the document. We can use the effect's huge variety to an artistic text, like contour or drop shadow.
In addition, we can assign some hyperlinks to the text.
To insert artistic text
To insert artistic text, follow the below steps:
- With the Text tool, press anywhere over the drawing page, and then type.

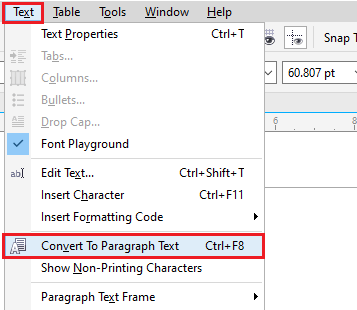
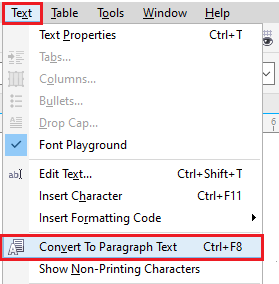
We can convert the artistic text into paragraph text. We have to select the artistic text with the help of the Pick tool, and press Text > Convert to paragraph text.
Inserting paragraph text
We insert paragraph text within the document with the help of text frames. The Paragraph text, also called "block text" is reserved for text's larger bodies that have formatting requirements. We can apply paragraph text if creating, catalogs, newsletters, brochures, and another text-intensive document.
To insert paragraph text, follow the below steps:
1. Press the Text tool.
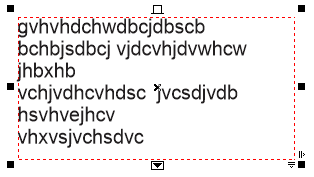
2. Drag within the drawing window for sizing the paragraph text frame.
3. Fill in this text frame.
Linking and combining text frames
We can combine the text frames. Also, we can break the text frames into subcomponents- characters, words, lines, bullets, paragraphs, and columns. We can click on the text frames after or before we type text. When we resize any linked frame or modify the text's size, the text's amount within the upcoming frame will be adjusted automatically.
When we choose any object or text frame, the blue arrow represents the text flow's direction. We can display or hide these arrows. We can remove the links among several frames, and among objects and frames.
To break apart and combine paragraph text frames
To break and combine text frames, follow the below steps:
1. Choose any text frame.
When we combine any text frame, hold down the Shift button, and apply the Pick tool for choosing subsequent text frames.
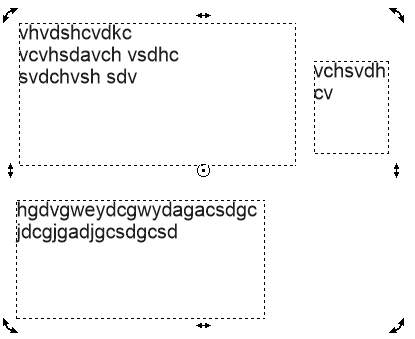
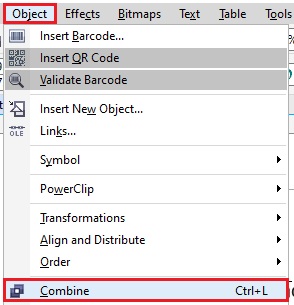
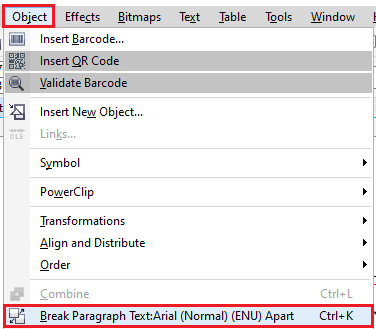
2. Press Object, and select anyone:
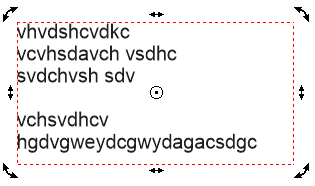
- Combine
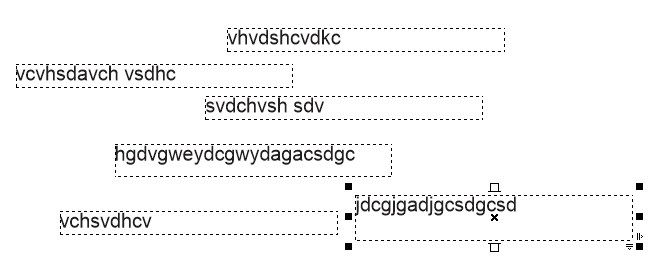
- Break apart
If we first choose the text frame along with the columns, the text frame (combined) will have these columns.
Text alignment by using a baseline grid
We can align the text in the frame or within distinct frames by applying a baseline grid. It is useful, such as if we wish to align multiple text frames that include distinct spacing, font sizes, and fonts.
To align the paragraph text for the baseline grid
The steps are listed below:
1. Press View > Grid > Baseline grid.
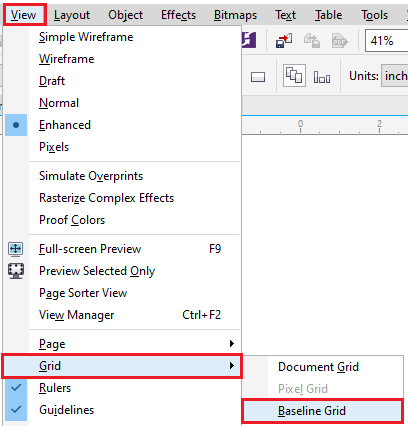
2. Choose the text frame.
3. Press Text > Align to baseline grid.
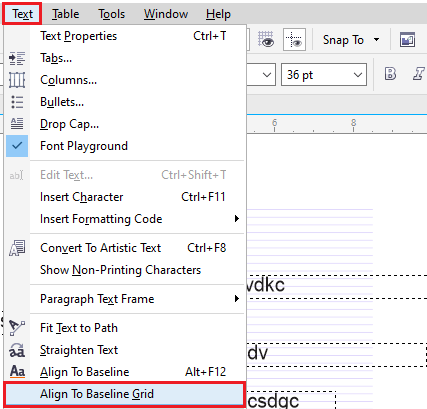
Also, we can right-click a text frame and select Align to the baseline grid.
We can align two or more selected frames at the same time.
Choosing text
CorelDraw enables us to choose the text to edit particular characters or change it like an object. Such as, we can choose unique characters to modify the font to choose the text object, like the text frame. Hence we can rotate, resize, or move it.
To choose the text object
The steps are listed below:
- With the Pick tool, press the artistic text to choose artistic text.
- With the Pick tool, press the text frame to choose the text frame.
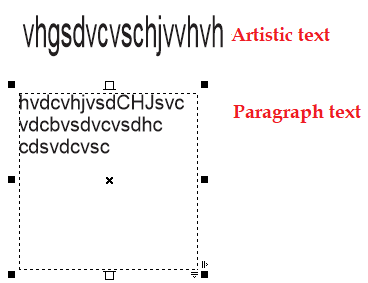
We can apply the Pick tool for selecting various text objects. To do this, we have to hold down the Shift button and press all the text objects.
To choose the text to edit
The steps are listed below:
- With the Text tool, move around the text to choose paragraph text or artistic media's specific characters for editing
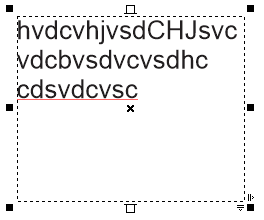
- With the Text tool, press the text frame to choose the text frame to edit.
Converting, editing, and finding text
We can search text inside the document and automatically replace it. Also, we can search for special characters, like an optional hyphen or dash. We can edit the text directly within a dialog box or drawing window.
To find a text
The steps are listed below:
1. Press Edit > Find and replace > Find text.
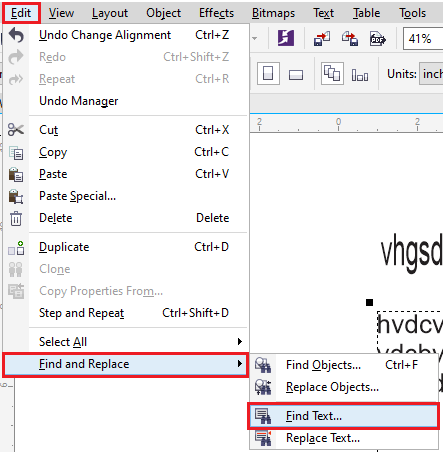
2. Type a text that we wish to find within the text box.
If we wish to find the text's exact case that we described, enabled a Match case checkbox.
3. Press Find text.

To edit a text
The steps are listed below:
- Press the Text tool.
- Implement any task from the below:
- Click the Artistic text to edit artistic text.
- Click the text frame to edit paragraph text.
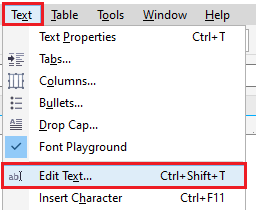
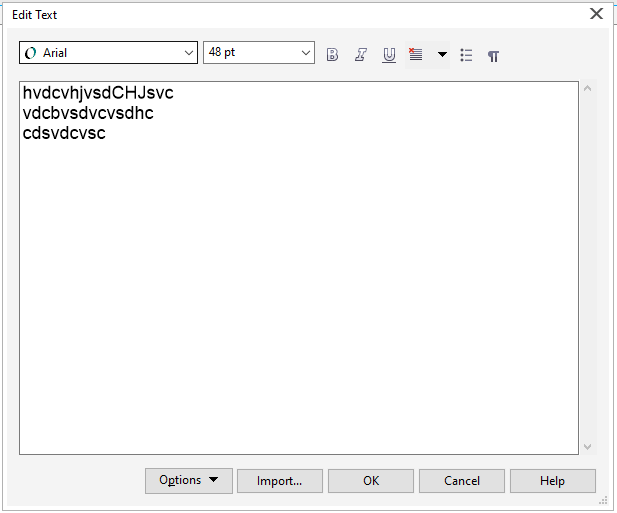
Also, we can edit any text by pressing Text > Edit text and creating modifications to any text within the Edit text dialog box.
To convert a text
The steps are listed below:
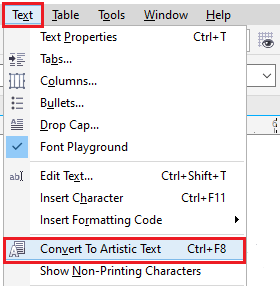
1. Select the Pick tool, choose the text, and press Text > Convert to artistic text to convert the paragraph text into the artistic text.
2. Select the Pick tool, choose the text, and press Text >> Convert to paragraph text to convert the artistic text into the paragraph text.
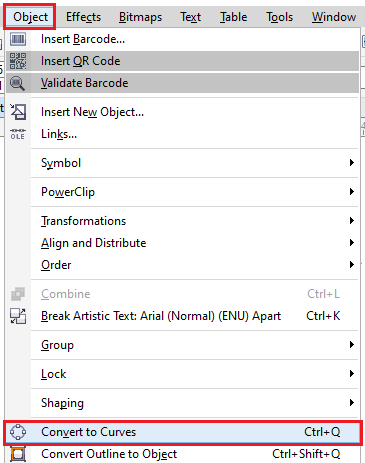
3. Select the Pick tool, choose the text, and press Object > Convert to curves to convert the paragraph or artistic text into curves.
Adding glyphs, symbols, and special characters
Using an Insert character docker, we can insert and find glyphs, symbols, and special characters of some OpenType fonts.
Characters added in the font are categorized as follows:
Common: It contains arrows, separations, punctuation marks, numbers, mathematical numbers, currency, etc.
Scripts: It contains various scripts that some selected font supports, like Greek, Hebrew scripts, Arabic, Han, Hiragana and Katakana, Cyrillic, or Latin.
OpenType: It contains various OpenType features facilitated by some selected font like alternate annotation forms, fraction, discretionary ligatures, standard ligatures, and more.
We can also use the most recently used special characters list to copy various characters that we apply often. This list absorbs the attributes of the font of most frequently applied characters and the OpenType features that have been used. We can manage this list by erasing the characters that we no longer require.
To insert a glyph, symbol, or special character
1. With the Text tool, press where we wish to include some special characters.
2. Press Text > Insert characters.
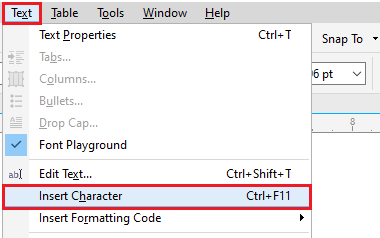
3. Within the Insert character docker, select any font through the Font list box.
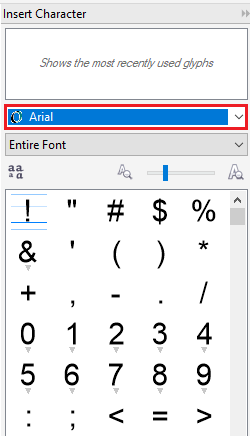
4. Double-click on the character inside the Character and Glyph list.
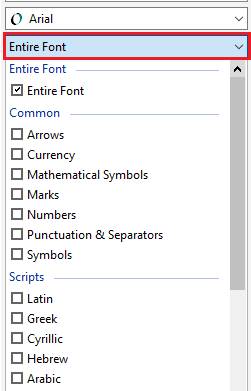
When we can't search a character we wish, so, open a Character filter list box, and enable an Entire font checkbox.



Comments