How to Resize a layer in Photoshop
How to Resize a layer in Photoshop
Resizing a layer in Photoshop is one of the most frequently used tasks in Photoshop while working with layers. Suppose we make a composite image that contains several layers, such as text layers and image layers. So, we have to align the image items according to their view and position. For this, we may have to reduce or enlarge an image. We can do so by resizing the layer using the Free Transform Tool. We can easily resize, transform, and add shapes, text, and other elements in our image.
Generally, graphic designers work with several layers because layers provide an unexceptional control over the image. Learning how to resize a layer will open all these ways to make the image look attractive.
Resizing a layer opens a way for extensive designs to apply several visual effects and adding components to make an image's view just how you want. Moreover, it makes it easy to adjust the multiple elements in an image by making the objects smaller or larger concerning the background.
In this section, we will discuss a step-wise process to resize a layer in Photoshop:
Follow the below steps to reduce or enlarge the size of a layer:
Step1: Open an Image in the workspace
The first step is to open or create an image to edit, and add a layer to it.
To create a new file, stroke the Ctrl+N key combination and select the file properties.
Step2: Add a layer
Now, the next step is to add a layer and add some content to it. To add a new layer, press the Ctrl+Shift+N key combination. Now, add some text or any image to it.

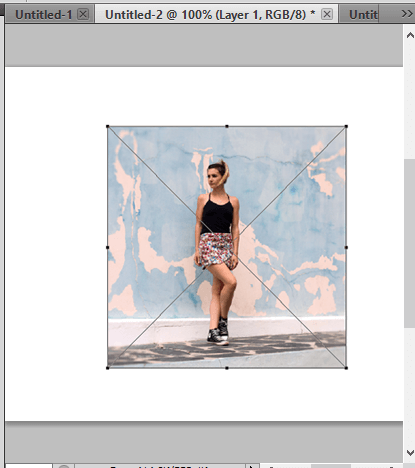
From the above image, we have added an image to a new layer. Photoshop automatically adds new content to a new layer. But double-check before proceeding further.
Step3: Select the layer
By default, the layer panel can be found at the right of the essential workspace. We can also view it by pressing the f7 key.
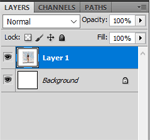
Our layers will look as follows:

Now select the layer that you want to resize by clicking on it.
Step4: Activate the Free Transform Tool
Now, activate the free transform tool by pressing the Ctrl+T keys or navigating to the Edit->Free Transform menu. Now enlarge or reduce the layer by dragging the image border points.
Step: Enlarge or Reduce the Layer
Now, we can enlarge or reduce the layer by stretching the points up or down.
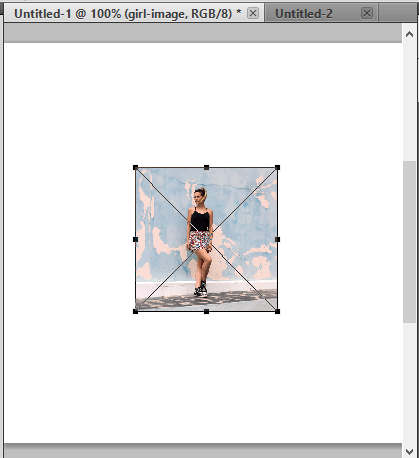
Consider the below image:

In the above image, we have enlarged the layer. Similarly, we can reduce the layer.

Also, we can adjust the width of the layer by stretching the side points.
Rotate the layer
To rotate the layer, take the mouse cursor around the image. You'll see a moving pointer move it clockwise or anticlockwise to move the image layer to the respective direction.
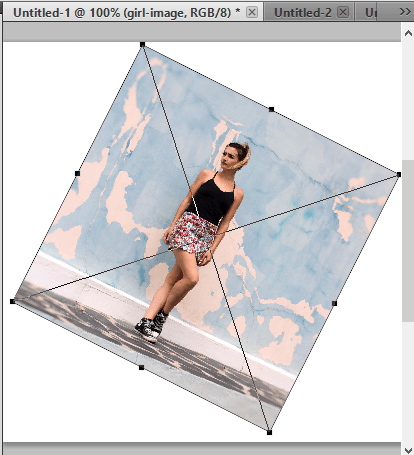
Consider the below image:

We have rotated the above image in the clockwise direction.


Comments