How to Download and Install Photoshop
How to Download and Install Photoshop
Photoshop is a leading photo manipulation tool. It is the world's best imaging and graphic design software. Its core features for a creative project are photo editing and compositing to digital painting, animation, and graphic design.
It's a premium adobe tool, so to use it, we have to purchase a plan. Adobe provides several plans as per the user's need, including complete, photograph, and single app plan.
It offers a reasonable price for a different users like individuals, students and teachers, businesses, schools, and universities. We can choose as per our needs.
However, Photoshop also provides a 7 days trial period, so you can try it before purchasing.
Let's understand how to download and install it:
Download Photoshop
To download Photoshop on your system, follow the below steps:
Step1: To download Photoshop, follow this link. It will take you to the official download page of Photoshop.
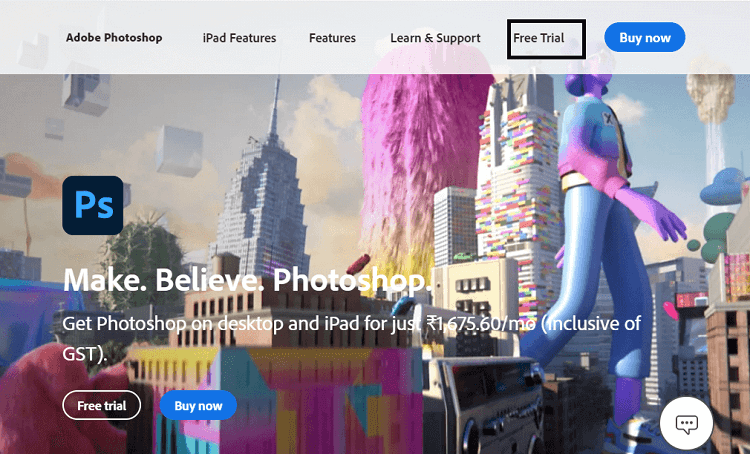
If you want to purchase Photoshop, click on Buy now option. If you want to use the trial of Photoshop, select the Free Trial option.
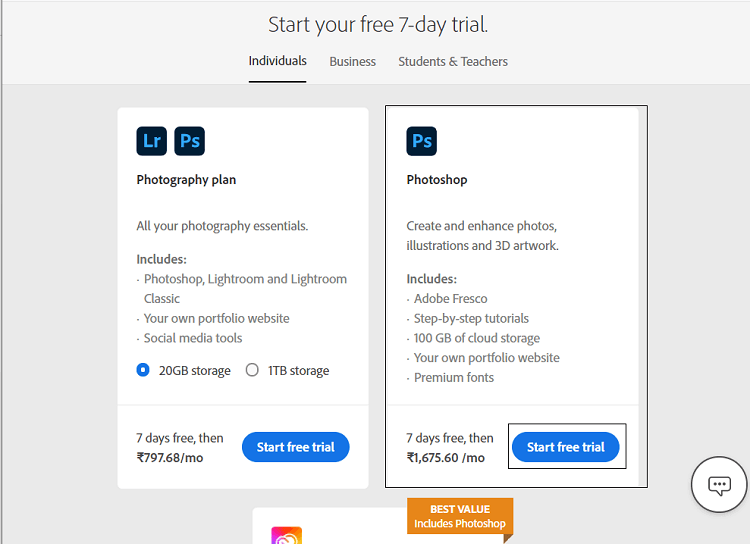
Step2: In this step, you have to select the required package. Select the Photoshop option and click on the Start free trial option.
Step3: In this step, we are required to create or log in to our adobe account. Enter the details such as email id or password to log in or signup.
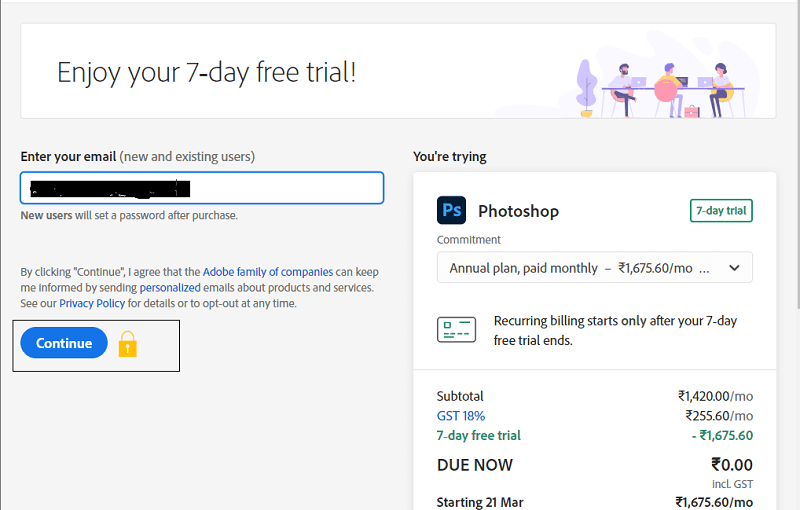
Step4: now, we need to add payment details. If we have selected a trial option, it will not charge us any amount until the trial period; after that, it will charge according to selected plans.
Step5: This step will take you to the Download page of the Photoshop elements. If you want to skip the step4 (Adding Payment details), you can follow this link. Scroll down this page and navigate to Adobe Photoshop Elements and & Adobe Premium Elements.

Click on the Download Adobe Photoshop Elements to continue.
Step6: Now, Select your platform for which you want to download Photoshop. It is available for Windows and Mac OS platforms.

It will start downloading a zip file having the Photoshop download elements. Now, extract this file. Here, we will get an application setup run this application to install Photoshop.
Install Photoshop
To install Photoshop on your system, run the downloaded application and follow the installation prompt. For the Windows platform, follow the below steps:
Step1: Run the installer file
Now, run the installer application. It will prompt you to make changes in your hard drive, select Yes to continue.
Step2: Login to Adobe Account
This step is required to sign-in to the application. We can sign-in using Adobe, Google, Facebook, or Apple id.
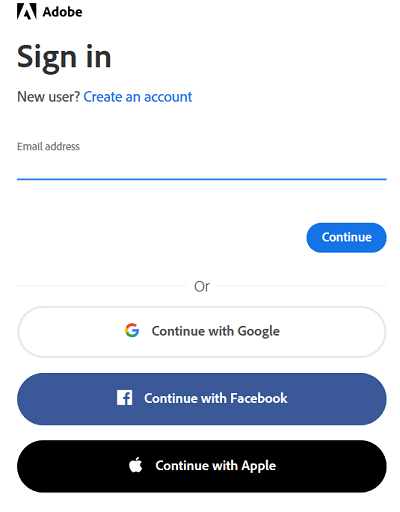
It will send a security code to the entered id to verify your user id. Enter the password and click connect to continue the process.
Step3: Accept the Terms and Conditions
Accept the terms of use and click continue.
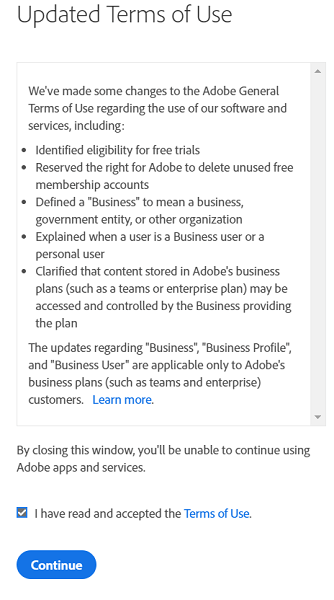
The installation process will automatically be started in the installer window.
Step4: Select the Language and Installation Location
In this step, we have to select the language and installation location. Select your preferred language & location. You can leave the location options to the default:
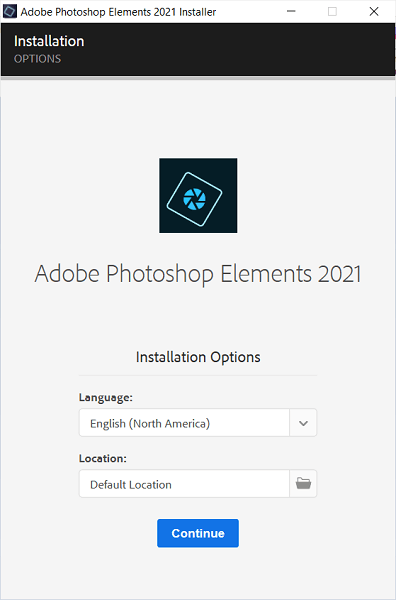
Click continue. It will start downloading the file.
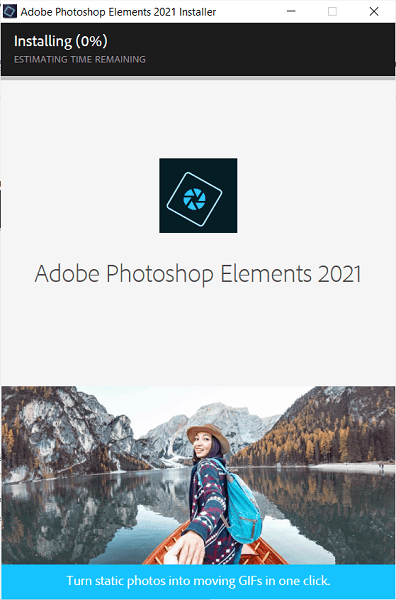
Ensure that your system is connected to the internet during the installation process. It will take some time to download and install the Photoshop elements (depending on your internet speed, usually 10 to 15 minutes).
Now, we have successfully installed Photoshop on our PC. It will create a desktop icon of Photoshop. It will open the following window:
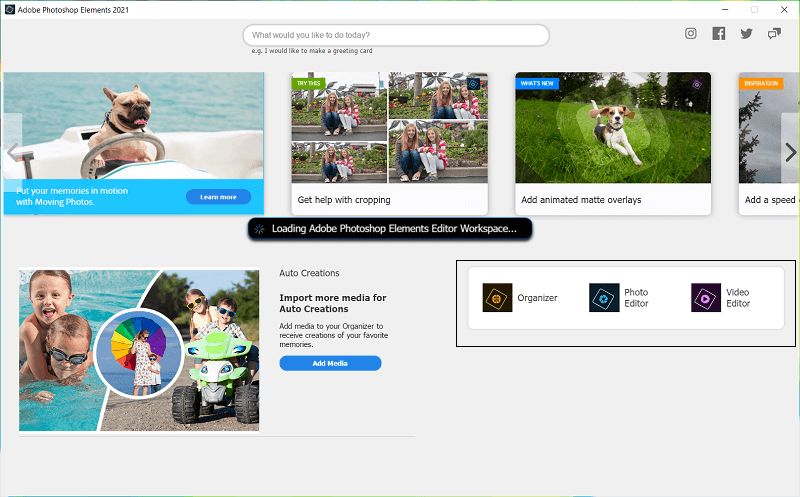
Select from this window what you want to do with Photoshop. We have selected Photo Editor Option.
Step5: Activate Photoshop
Now, it will ask you to activate or try Photoshop.
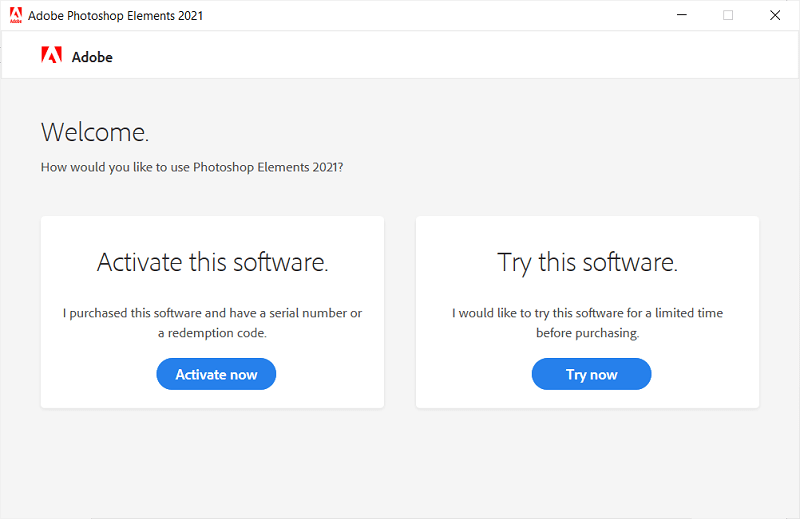
Enter a Product Id or click on the Try this software option. When we select the try option, it will open the below window to verify the trial period.
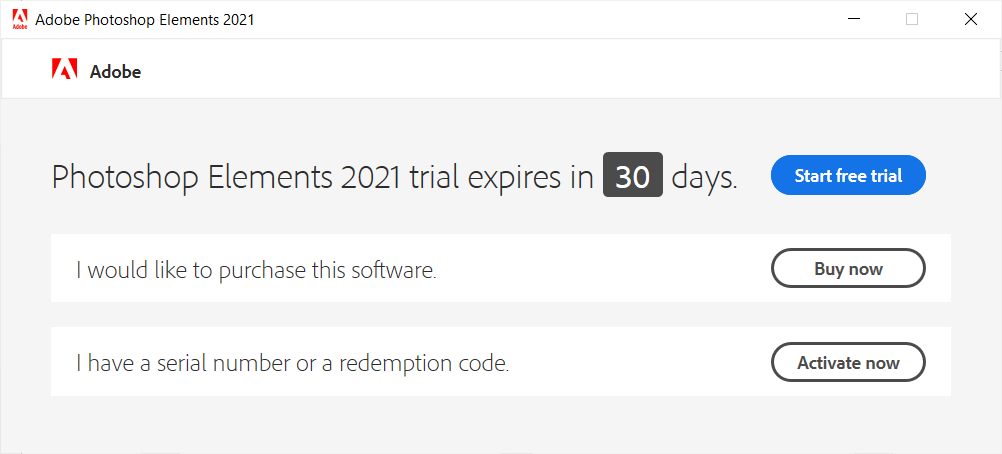
Click on the Start Free Trial option.
Step6: Finalize the Process
Now, click Ok to finalize the process.
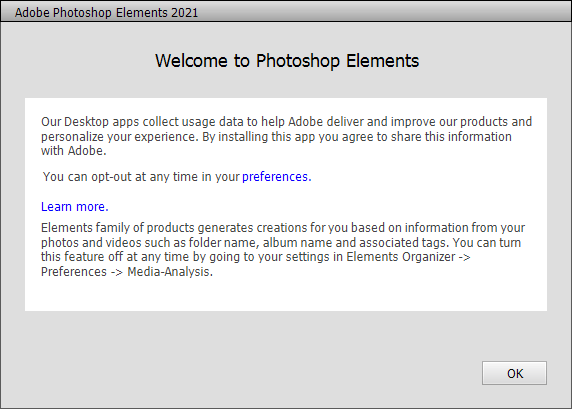
It will take some time to load the default settings and plug-ins.
Now, our Photoshop will be opened in Quick Mode. The default workspace of Photoshop looks as follows:
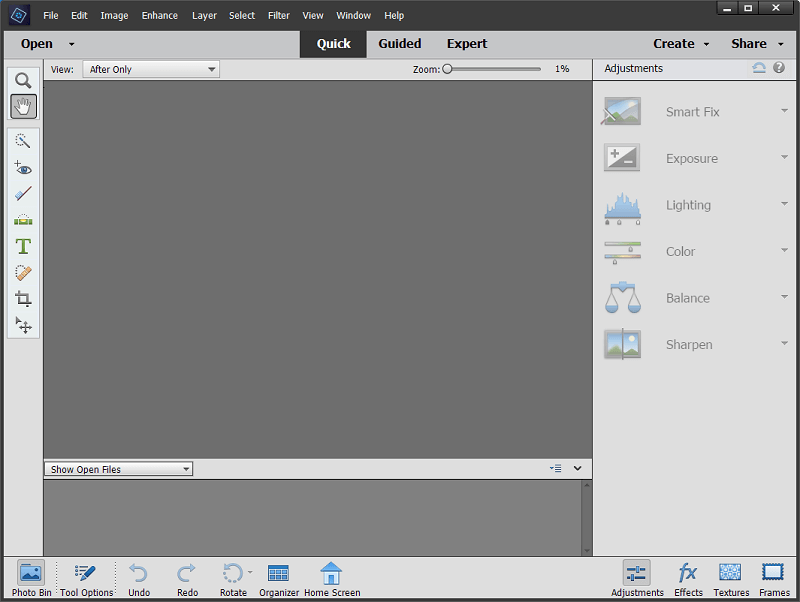
For other graphical tasks, we can switch our workspace to the Expert mode. The Expert mode workspace looks as follows:
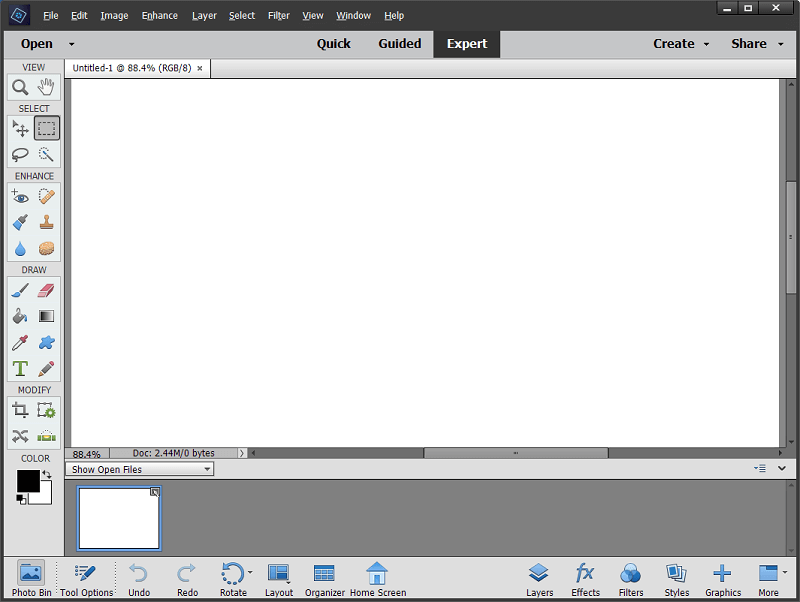
We can create our First document by clicking Ctrl+N keys.


Comments